Webflow
Written By Andrew Petrovics
Last updated 9 months ago
To connect your Webflow account you’ll need to create an API token for your site (with the correct permissions), input the API token into Video To Blog, and select the desired collection and fields you want the blog post to publish to.
1. Create Webflow API Token
Head to your Webflow dashboard and go to Settings for the site you would like to connect.

Next, navigate to Apps & Integrations.

Then, scroll down to API access and click the Generate API token button.

Next, give your token a name (like “Video To Blog”) and give Read and write permissions for CMS and Read-Only permissions for Sites. Then, click the Generate Token button.
Important: You must give the correct permissions for the integration to work properly

Now, copy your access token to your clipboard (and optionally save in a secure location).

2. Input API Token into Video To Blog
Next, head over to Video To Blog and click the Connect button next to the Webflow integration in Settings.

Paste in your API token into the dialog and click Next.

3. Configure your integration
Finally, configure your integration by selecting the desired site and collection you want your blog post to be sent to along with mapping the various fields.
The HTML field is the only field that is required (all others are optional).
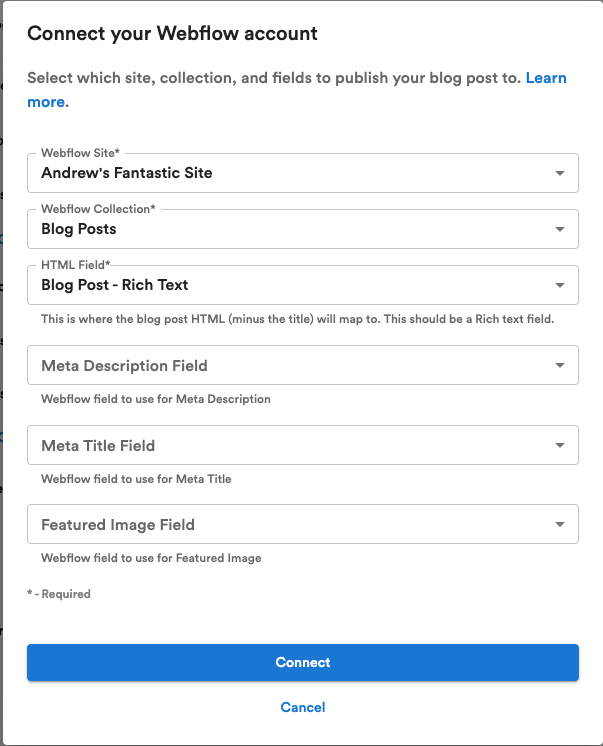
Good to know: The title and slug field for a blog will automatically be mapped to the required Webflow fields (name and slug).
Once you are done, click the Connect button and that’s it!