Adding Videos (or Audio)
Written By Andrew Petrovics
Last updated 3 months ago
The first step to creating a blog post is adding a video. We currently support two methods: YouTube link, upload a video/audio file, or via a YouTube channel link.
Note: All videos must have spoken audio. Music videos, video game streams, etc will not work.
YouTube Link
You can enter the YouTube URL for any YouTube video that is publicly available.

The video can be unlisted but it cannot be private. Also, it must not contain censored or age restricted content and must be available to view in the US.
We do not currently support YouTube live videos. You can use live video links once the video is done streaming, but not while it’s currently live / streaming.
Videos up to 3 hours long are supported.
Upload Video or Audio File
We also support uploading any video or audio file in any format. Simply click the “Or upload a file” button.

Then choose a file from your local computer.
Important: Please note that all video or audio files that get uploaded will be deleted after 3 months. If you embed the video into your blog post be sure to use a link from your own video storage provider.
Bulk Generation
You can also create multiple blog posts at once using Bulk Generation. Read more about bulk generation and the various methods you can use here.
Record Audio
You can also record yourself (and/or others) in audio format and directly create a blog post from your audio.
This is useful when you want to write a blog post about something, but you find it easier to talk about a subject rather than write about it from scratch.
To record audio directly simply click the “Record audio” button.

This will bring up the audio recorder dialog. When you’re ready, simply click the “Start Recording” button.

Important: Make sure you have a microphone connected and you have enabled appropriate permissions in your web browser.
When asked, be sure to allow permissions to access your microphone.

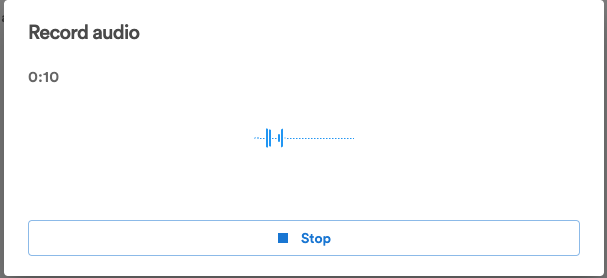
When you are done recording simply click the “Stop recording” button.
Now, you can create your blog post as normal by making any changes to your blog generation settings.

Upload from Google Drive
You can easily integrate Google Drive to your Video To Blog account which will allow you to easily view and select file(Audio/Video) from your Drive to generate blog posts from.
Connect your Google Account
Go to your Integrations page.

Note: If you do not see an Integrations option, be sure you have “All Posts” selected on the top left drop down.
Connect your Google account by clicking the Connect button next to Google Drive.

You’ll be redirected to Google’s OAuth page, select the account you wish to connect.
Click Continue.
Create Blog Post
Once your Google account is integrated, you’ll be able to select a file from Google Drive when creating a new blog post.
Select Upload from Google Drive option while creating new post.

Select required file and click Select.


Now, you can create your blog post as normal by making any changes to your blog generation settings.
Upload transcript
You can easily upload your transcript file and directly generate blog posts from.
Select Upload transcript option while creating new post.

Select required file and click Select.


Now, you can create your blog post as normal by making any changes to your blog generation settings.